Why High-Temperature 3D Printers Need Rogers Silicone Heaters
Choosing the Right Thermostat for Smart Temperature Control Needs

Silicone Rubber Heaters in Automotive: Durability Meets Innovation
Polyimide Heaters: Key Applications in the New Energy Industry
Why Mica Heater Need Multiple Through-Holes
Silicone rubber heaters are versatile, flexible, and efficient heating solutions designed to provide uniform heat distribution for various industrial and commercial applications. Whether you’re installing them on machinery, pipes, tanks, or other equipment, proper installation is crucial to ensure optimal performance and longevity. This guide simplifies the process while providing practical tips and considerations.
· Flexibility: They can conform to irregular surfaces.
· Durability: Resistant to moisture, chemicals, and aging.
· Customizability: Available in various shapes, sizes, and watt densities.
· Efficiency: Provide precise and even heating.
Applications range from de-icing and freeze protection to maintaining critical temperatures in sensitive industrial processes.
Before beginning the installation process, follow these steps:
1. Assess the Surface: Ensure the mounting surface is clean, dry, and free from debris, grease, or oil. This ensures maximum adhesion and effective heat transfer.
2. Inspect the Heater: Check the silicone rubber heater for any visible damage or defects. A compromised heater may not perform optimally.
3. Gather Tools and Materials:
Adhesive or pressure-sensitive backing (if not pre-applied).
Temperature controller (recommended for regulated heating).
Insulation materials (optional, to reduce heat loss).
Clamps or fasteners for mechanical attachment (if applicable).
4. Read the Manual: Always refer to the manufacturer’s instructions for any specific guidelines.
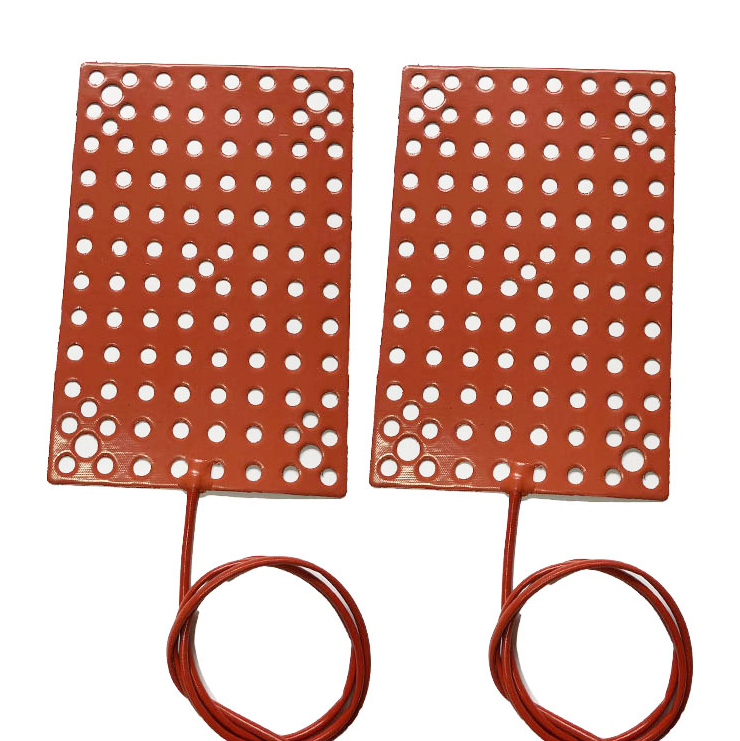
Silicone rubber heaters can be installed using several methods depending on the application and surface type.
Many silicone rubber heaters come with pressure-sensitive adhesive backing for easy application. Here’s how to install them:
Peel off the protective layer from the adhesive side.
Carefully position the heater on the desired surface.
Press firmly, starting from the center and moving outward to eliminate air bubbles.
For applications requiring repositioning or where adhesive is unsuitable:
Use clamps, hooks, or screws to secure the heater.
Ensure the fasteners are evenly spaced to avoid uneven heating.
Avoid overtightening, which could damage the heater.
For a more permanent solution:
Apply a thin layer of high-temperature silicone adhesive to the surface.
Position the heater and press it into place.
Allow sufficient curing time as recommended by the adhesive manufacturer.
For cylindrical surfaces like pipes or tanks:
· Wrap the heater around the surface.
· Use Velcro straps or similar fasteners to secure it in place.
1. Verify Voltage and Wattage: Ensure the heater matches the power supply specifications.
2. Connect to a Controller: For optimal performance and safety, connect the heater to a temperature controller.
3. Secure Connections: Use proper connectors and insulate all electrical connections to prevent short circuits.
Apply power and monitor the heater’s performance for a short period.
Check for even heating and proper temperature regulation.
2. Inspect for Issues:
Look for any signs of detachment, hotspots, or uneven heating.
Add Insulation (Optional): Insulating the area around the heater can enhance energy efficiency and heat retention.
1. Regular Inspections: Periodically check the heater and connections for wear or damage.
2. Clean as Needed: Keep the surface and heater free from contaminants.
3. Replace When Necessary: Replace the heater if it shows signs of aging or reduced performance.
1. Skipping Surface Preparation: Adhesive heaters won’t stick well to dirty or oily surfaces.
2. Incorrect Placement: Misaligned heaters may cause uneven heating or damage.
3. Overtightening Fasteners: Excessive force can damage the heater’s structure.
4. Ignoring Safety Precautions: Always follow electrical safety guidelines and use controllers to prevent overheating.
Installing silicone rubber heaters can be a straightforward process if approached with proper preparation and care. By following the steps outlined in this guide, you can ensure your heater operates efficiently, safely, and reliably. For specialized applications or troubleshooting, consult the heater manufacturer or an experienced technician.

We offer a wide variety of high-efficiency heaters and heating element.Such as polyimide/kapton heaters,silicone rubber heaters,PET transparent heaters, thick film heaters,PTC heaters, mica heaters,epoxy resin heaters and graphene heating film.